I'm excited to get great result after using Arizona capacitor and other high quality components
that Mr Shirokazu Yazaki from SPEC Corp. have produced and recommended for "Real Sound".
After finishing modify McIntosh 275 amplifier with capacitors adventure.
http://mellowgroovy.blogspot.com/2016/01/mcintosh-mc275-modify-part2.html
I started continue modifying Marantz Model 7 to use them together.
This is a link for inside Model 7 before do anything.
http://mellowgroovy.blogspot.com/2015/12/marantz7beforemodification.html
The result can be predictable for upgrade sound quality of Marantz Model 7 to higher level.
And I want to share what did I do with this world famous tube preamplifier.

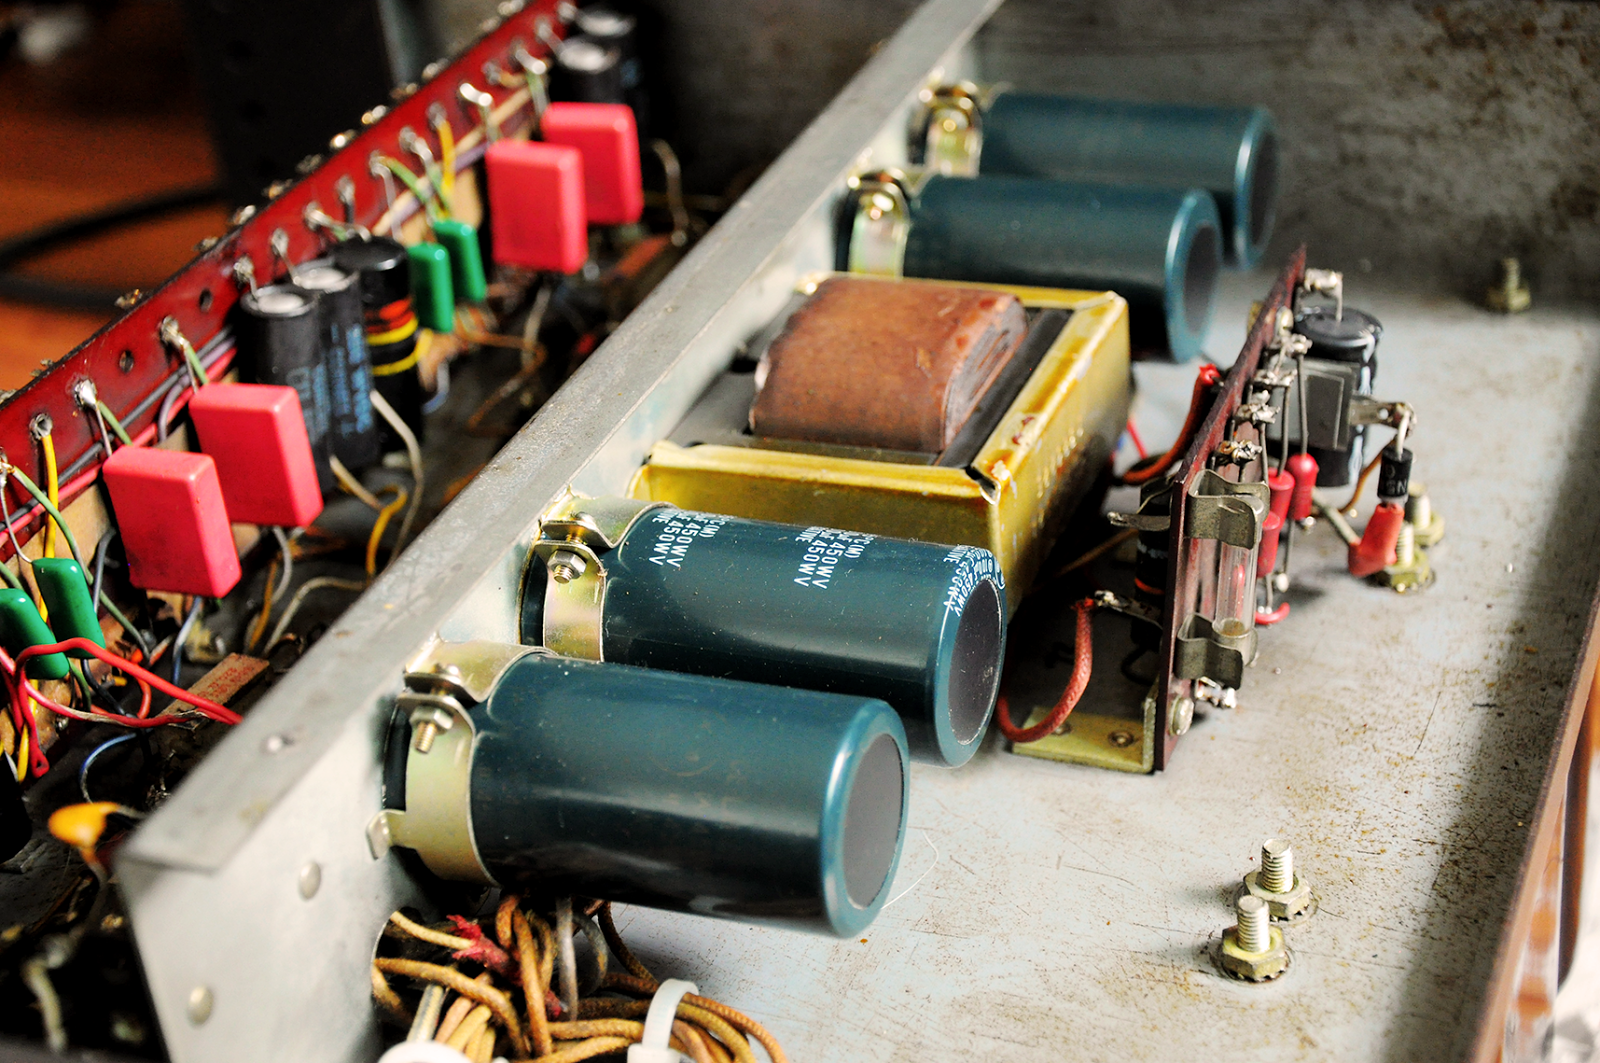
Components for do this "upgrade".

Top view.

Bottom view.

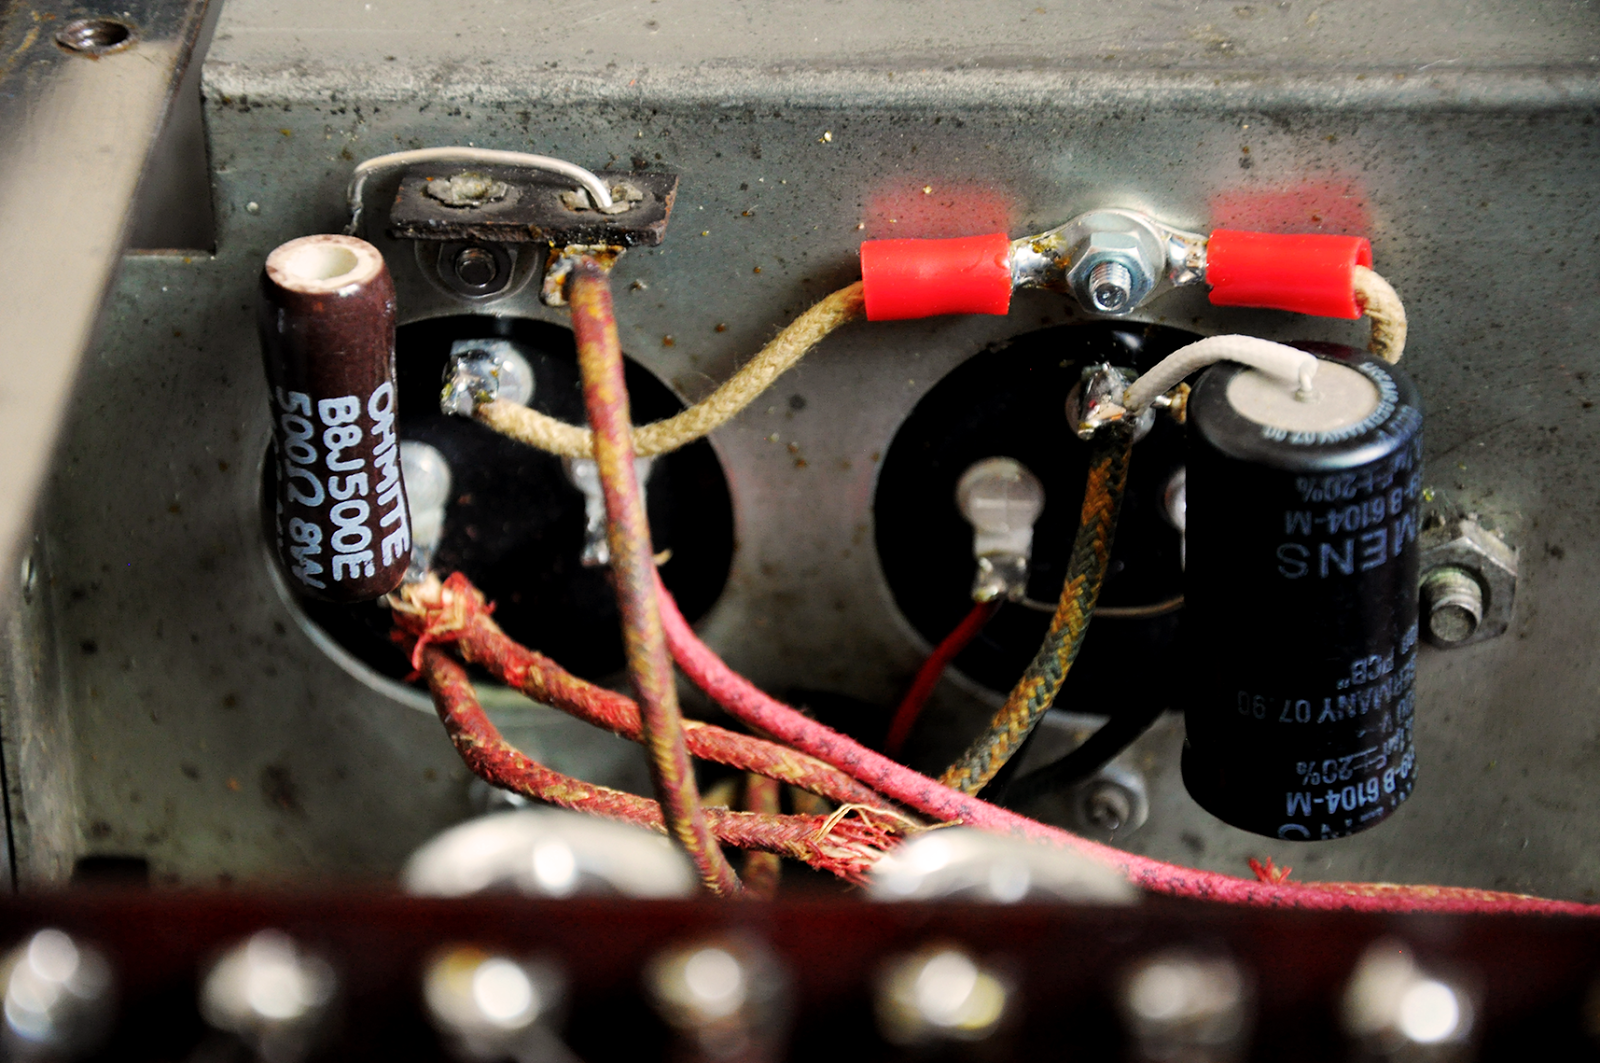
Rectifier section, both high voltage and filament supply.
Original electrolytic capacitors are in working condition and still produce great tone.

I use my favorite IRC GS3 metal glaze resistor to replace carbon composite type
that too high tolerance for this section.

Change old selenium to silicon bridge rectifier for tube's filament supply.

Using STTH6110TV2 ultrafast recovery diode to replace selenium in high voltage rectify too.

Replace cement coated type with better wirewound resistors from Ohmite.

Use 680k carbon composite resistor to replace 500k potentiometer + 180k resistor
in level adjust before last tube stage.
This potentiometer almost had dirty contact, need to replace if somebody still want to use it.

47k resistor RA series from Tepro did it best in cartridge loading position before phonostage.

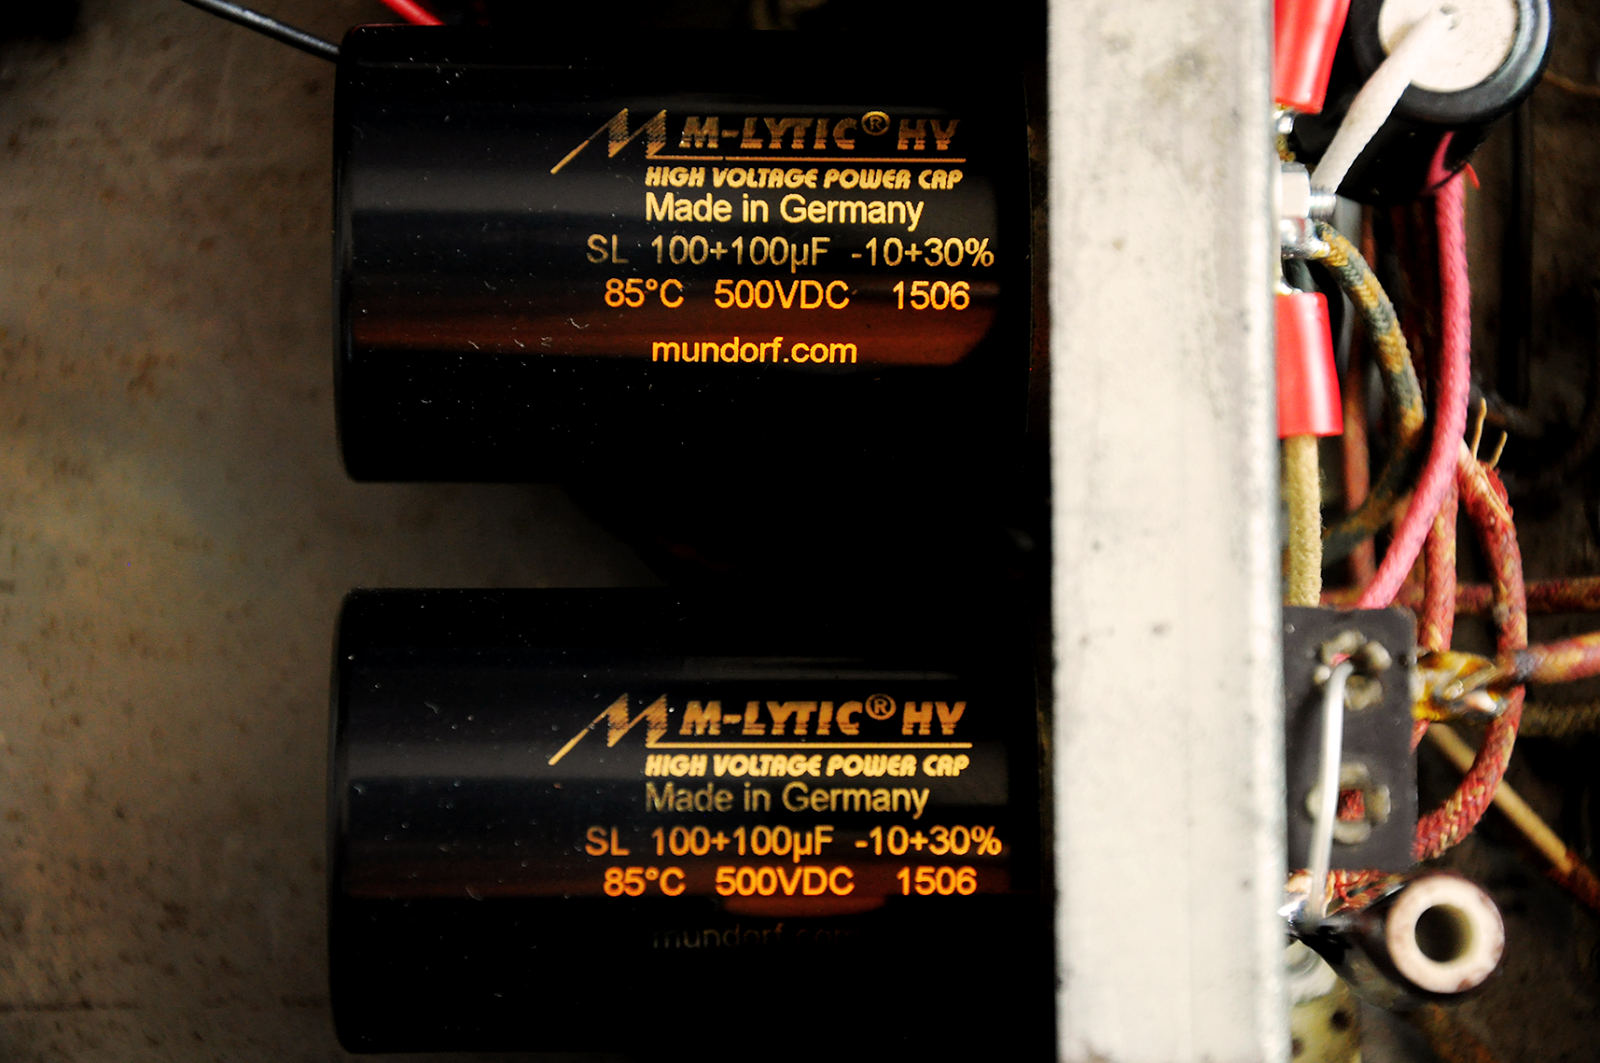
And all coupling using paper & polyester dielectric in oil-filled capacitors from Arizona capacitor.
Almost use C50309 "Blue Cactus" except 0.1uF that use C50313 "Green Cactus"
for tuning some kind of timbre.


Tube's cathode bypass capacitor using axial Mallory capacitors.

Coupling capacitors under the board.


Another coupling capacitors that stay in selector position.

Sing-along with McIntosh 275, produce mellow tone and "Real Sound" like expected.


Cheer !!!